A typical batch of homebrew is a 5 gallon batch. Anything less than that would be considered “small batch” brewing. Why brew less?
It's not that hard to figure out. Less time. Less space. Less money. As a homebrewer with six taps in my garage, it's pretty hard for me to get through 30 gallons of beer, which is why I'm starting to do more one gallon brewing.
If you want to brew a single gallon of beer, you're going to need a one gallon fermenter. There are fewer choices than the five gallon versions, but you still have a couple of options to choose from.
The best 1 gallon fermenter is actually going to be a little larger than a gallon capacity. Since you're brewing a gallon of beer, you'll need some extra space to account for krausen, trub, hop material, and anything else that goes into the fermenter.
Table of Contents
Glass VS Plastic VS Stainless Steel 1 Gallon Fermenters
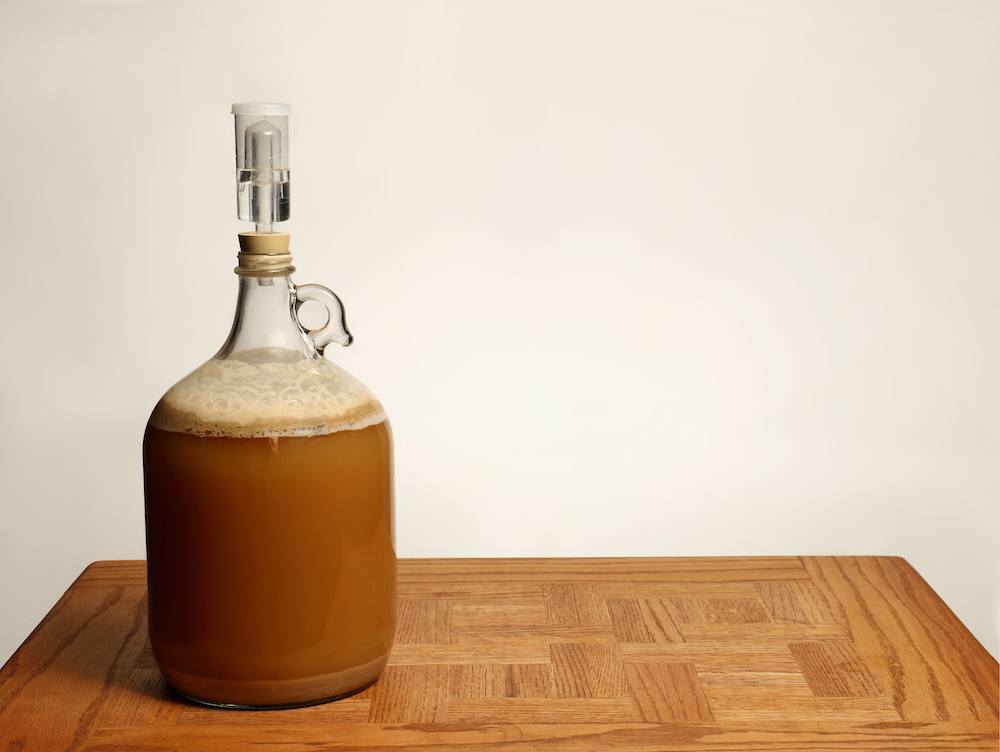
The most important option you'll have to choose from with your 1 gallon fermenter will be glass, plastic, or stainless steel. Which one is “the best”? Depends on who you ask.
Personally, I'm a fan of glass. It cheaper than stainless, it's readily available, it doesn't scratch easily, and it lasts forever as long as you don't drop it.
However, I have smashed more than one glass carboy in my life. You can't just toss them around like plastic.
Plastic fermenters are cheaper, lighter and more durable, but more prone to scratching, which are wonderful places for bacteria to hide. They need to be replaced from time to time.
There really isn't much out there in terms of stainless steel one gallon fermenters. However, you can actually ferment in kegs, and there are a couple of styles 1 gallon kegs which would work fine. Kegs are more expensive than other types of fermenters on this list though, so I would only recommend it as a way to save money if you have extra kegs you can use.
Glass Fermenters
Glass is my favorite type of fermenter. You can see the beer fermenting, which is part of the enjoyment of brewing for me. Watching krausen rise and fall, or seeing little particles of trub float up and down as CO2 is released is just plain interesting.
1 Gallon Glass Jugs
The most popular type of 1 gallon fermenter is the classic glass jug fermenter. It's an oldie, but a goodie! It looks old-timey, and they are cheap too.
They are not fun to clean though, since the neck is so small. You definitely need a wire-handle brush to do the job. Plus, the skinny neck isn't idea for giving fermentation enough blowoff space. Don't fill your beer all the way up to the neck!
If you have a beer that's vigorously fermenting, expect krausen to move through your blowoff tube, so don't just install a bubbler.
Adding a blowoff tube means you'll insert some beverage line into the hole of the stopper so excess liquid blowing off will leave through the tube instead of gumming up your bubbler, or blowing off your stopper and making a huge mess.
Little Big Mouth Bubbler
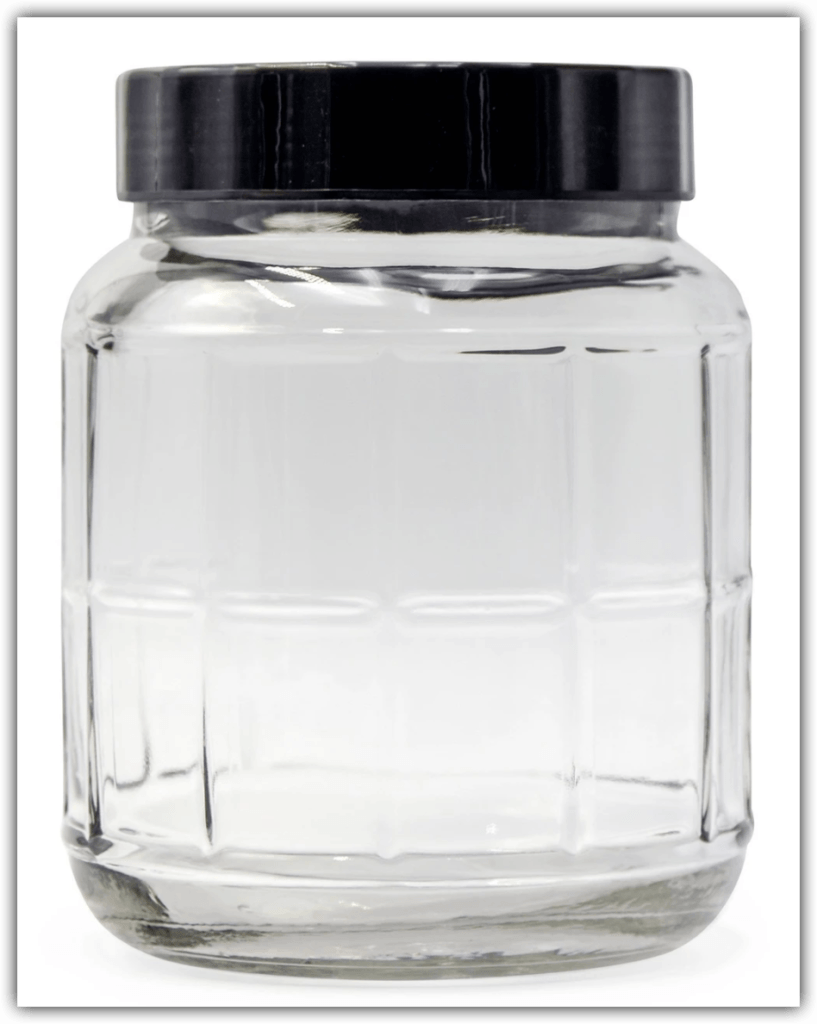
A more modern option for glass fermenter would be the Little Big Mouth Bubbler from Norther Brewer. The original Big Mouth came in both a 6.5 gallon and 5 gallon version (primary, secondary fermentation). Now they have a size perfect for 1 gallon brewing.
It's a 1.4 gallon size, meaning you have plenty of room for krausen, or if you brew a little more than a gallon.
The “big mouth” part means that you can get your entire hand into the top of the fermenter, making cleaning much easier.
The main downside to this style of small batch fermenter is actually the advantage – the large lid. Many customers have complained about the lid not sealing properly, which means oxygen can get in and spoil your beer. This issue seems to be consistent across all sizes of Big Mouth.
Northern Brewer is aware of the problem though, and is diligent about communicating with customers who have purchased products with leaky seals. Overall, most customers seem to be happy with the improved design over the classic jug style.
Universal Gallon Jar Fermenters
A close alternative are these universal glass jar fermenters I found on Amazon. It's a similar concept with the wide mouth. These are slightly cheaper, and this set even comes with pre-drilled lids and airlocks.
The glass is not as thick, and the lids are reported to be cheap plastic though. Plus, these are exactly a gallon, so don't leave room for krausen or extra beer. You could split your batch into two jars though if you want, or do 3/4 jar of one beer, then do a ciser in the other jar.
Mr. Beer Glass Fermenter With Spigot
Mr. Beer is famous for their homebrewing starter kits, and many high level brewers have fond memories of their earliest Mr. Beer kits. This 1 gallon glass fermenter looks a lot like the Big Mouth Bubbler, but comes with a spigot pre-drilled into the glass.
The upside to having a spigot is that you don't need to siphon your beer to the keg or secondary fermenter, which can introduce bacteria or oxygen into your brew. Plus, since the spigot is not directly on the bottom of the fermenter, you can transfer just clear beer, and less trub or hop material which has settled on the bottom.
It's not immediately clear how tubing would connect to the spigot, and I would not advice you just turn on the spigot to transfer to the keg. That's a whole lot of beer-spoiling oxygen!
Plastic Fermenters
2 Gallon Bucket
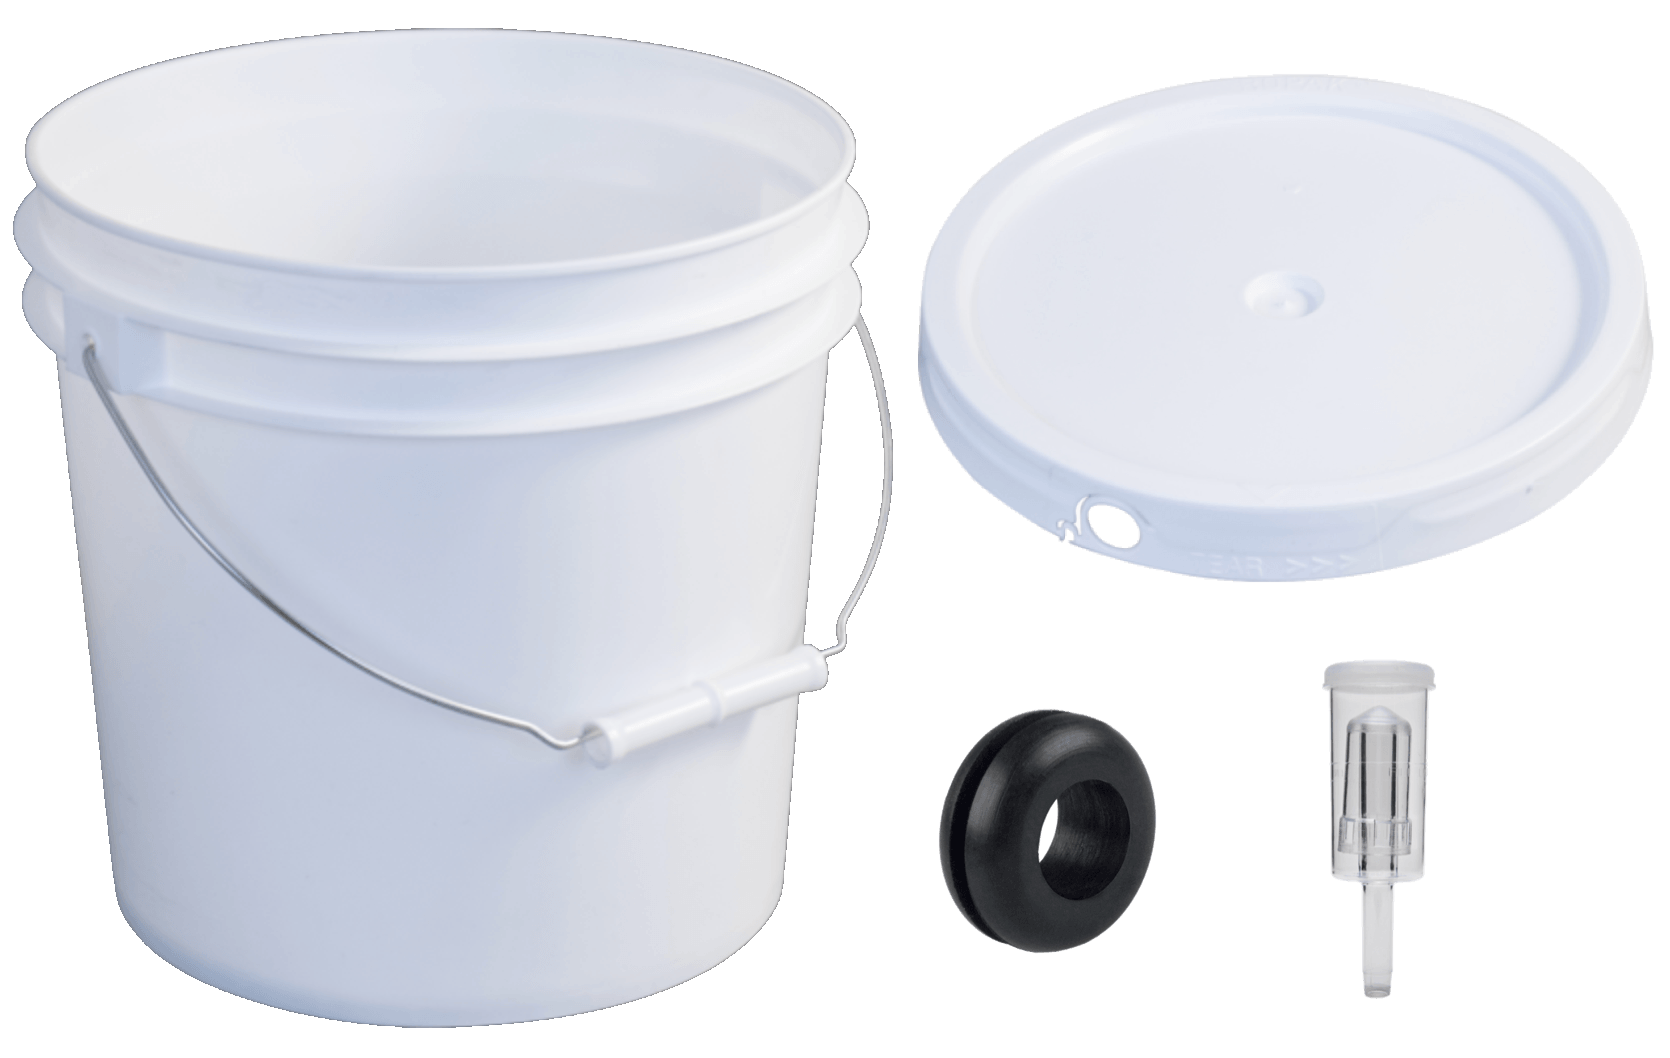
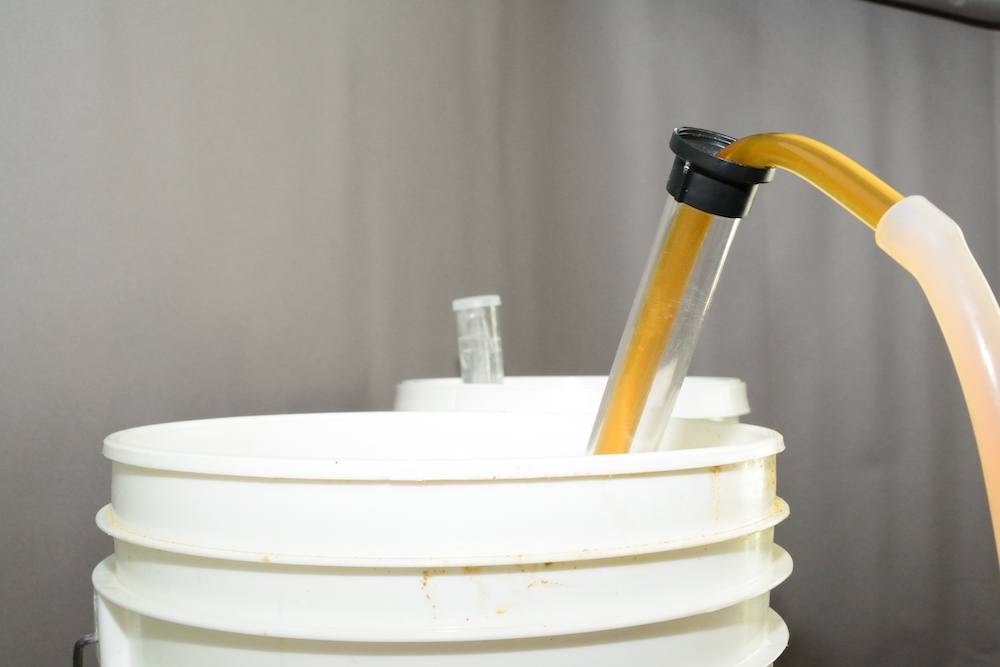
The ultimate classic homebrew fermenter – a friggin' bucket. This bucket is just $5 from MoreBeer. You will need a lid, and since there are no predrilled lids (like with 5 gallon buckets), you'll have to drill a hole, the fit in a grommet for your airlock to fit.
If you're brewing a gallon, then a 2 gallon bucket should be plenty of space, even for the most vigorous fermentations. I'm predicing you don't need a blowoff tube, but you can also stick tubing in the grommet if you are concerned about blowoff.
Simple setup, and cheap too!
Fermonster 1 Gallon
Pretty simple setup here. Just a plastic jug with a screw top lid, and a hold drilled for a stopper. This is another affordable, simple way to ferment your single gallon brews. Get Fermonster here.
The lid will be easier to get on/off than the bucket system, where bucket lids can be stuff and difficult to get sealed properly or to remove.
This particular setup comes with the pre-drilled lid, stopper, and airlock.
With a gallon size versus the 2 gallon size, you'll have less room for a blowoff. So which would I choose? Personally, the bucket lids piss me off, so I'd go with a crew top any day.
BrewDemon Conical 2.5 Gallon
Though originally part of the BrewDemon beer kit, you can now buy this very cool Brewdemon conical fermenter. Made of heavy duty, food grade plastic, this conical fermenter is perfect for small batch brewing. It's cheaper and smaller than the FastFerment conical, but you still get the cool beer-clearing feature of conical fermenters.
There's no method of removing yeast and sediment, so the spigot here should be used to transfer to a bottling bucket first, then add your priming sugar, then bottle from there.
If you're kegging your beer, you could transfer the clear beer directly to the keg, then add priming sugar there, or force carbonate.
This ultra-mini replica of a brewhouse conical fermenter would look very cool on your counter IMO. It comes in clear and amber versions. The amber version is probably better for preventing lightstruck beer, but it's nice to watch beautiful beer to ferment.
The only trouble with this one is there are some complaints about the quality of the spigot. Broken spigots have cause a number of issues including huge beer spills indoors.
FastFerment 3 Gallon Conical
Even small batch brewers can get a cool conical fermenter. This one is a little bigger than what you need, but a fermenter being too big is fine. Yeast needs oxygen to do a healthy fermentation, and once it starts spitting out CO2, the extra head space will fill with a nice blanket of carbon dioxide.
With a flexible system like this, you could even brew three gallons, then just keg a gallon a time.
For example, maybe you brew a wheat beer, keg it, then you add some blueberries in there and next time you get a blueberry wheat.
Plus, it comes with a yeast harvesting system so you can save your yeast and use it next time and save yourself some money! Plus, you can remove yeast and sediment, then mix in your priming sugar directly in the fermenter so you don't have to transfer to a bottling bucket.
Bottling attachment makes it super easy to transfer beer from the fermenter directly into bottles or small keg.
MrBeer 2 Gallon Barrel w/ Spigot
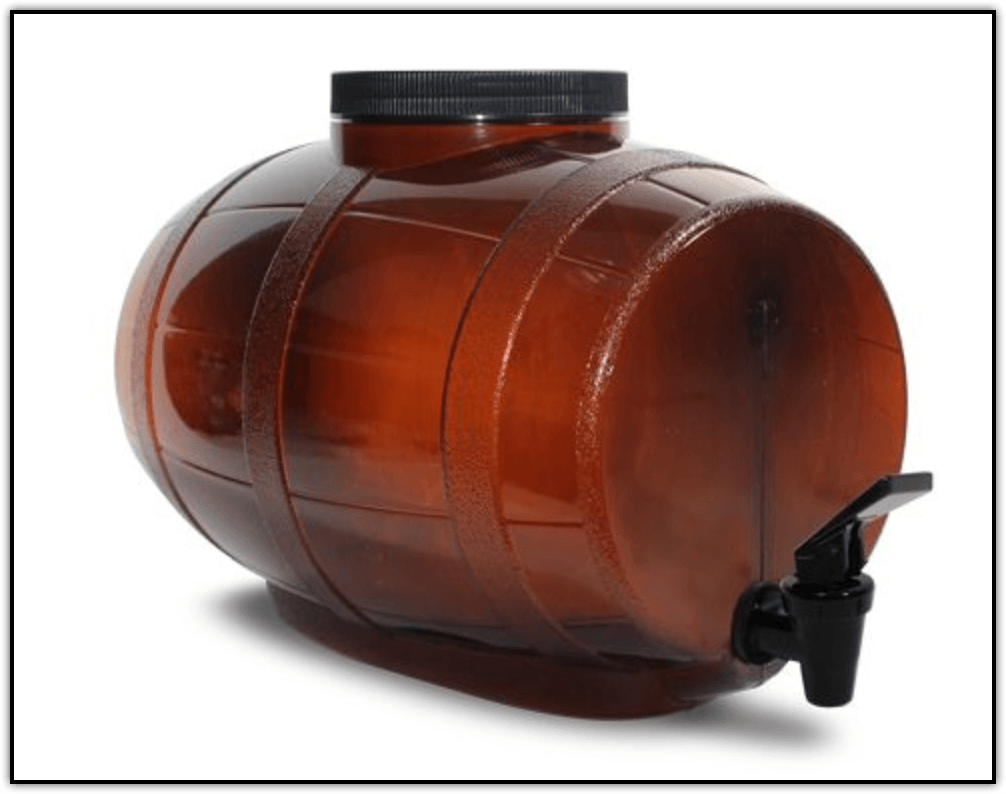
After shipping over 2 million of these LBKs (Little Brown Kegs), MrBeer is pretty confident in their product.
I like that the spigot is already attached, which makes transferring easy. However, this particular spigot doesn't look like you could connect tubing to it, so I'm not quite sure how that would work. Other versions of the MrBeer kit clearly have an alternate version of a spigot with a tubing attachment.
I'm not really sure where the air lock is on this one, but I assume there is one.
Depending on how much you care about the look of this fermenter, there doesn't seem to be much advantage to this style, other than it looks like a beer barrel.
Stainless Steel Fermenters
Stainless steel is scratch resistant, easy to sanitize, and lasts forever. It's also more expensive than glass or plastic. If you decide to ferment in a stainless steel keg, for a 1-gallon batch, the ideal keg size would be a 1.75 gallon keg or a 2.5 gallon keg. This leaves room for krausen and blowoff.
SS BrewTech 3.5 Gallon Bucket
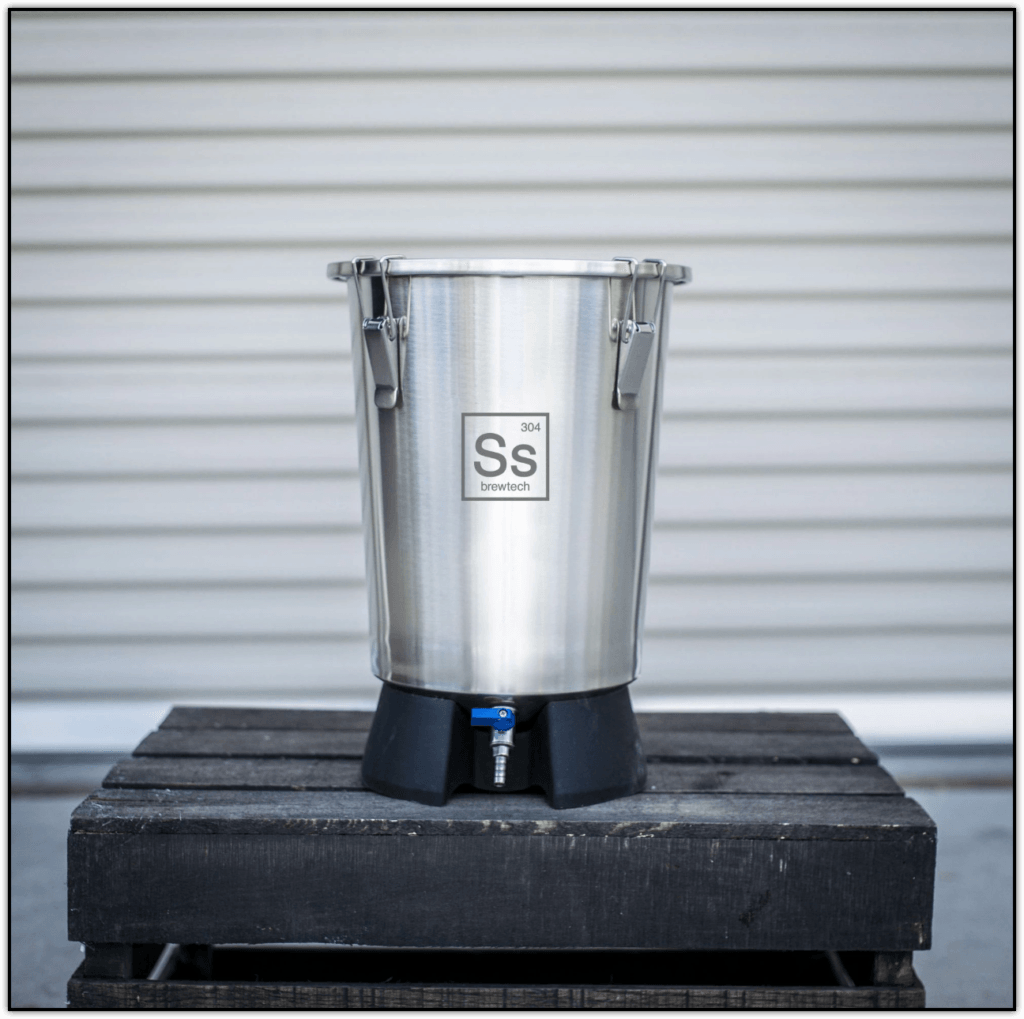
This is a pretty sweet-looking piece of equipment. Well, everything from SS BrewTech is pretty badass.
Unfortunately, this one is 3.5 gallons, which is quite a bit more than we need for fermenting a gallon of beer. It's also stainless steel, which means it's not cheap.
However, this was the best stainless option I could find, with the exception of kegs, so I wanted to include it.
Corny Kegs
A 1.75 gallon keg is actually the perfect size fermentation vessel for a 1 gallon batch. It's completely sealed so no light gets in and no oxygen gets out. With the extra head space, you have room for krausen or extra beer if you brew too much.
All you need is a poppet with some tubing connected to the keg post, and you can use that as a blowoff tube.
These aren't cheap though. A small keg will cost you about a hundred bucks compared to a plastic bucket which would cost $10.
Bucket VS Conical VS Carboy with 1 Gallon Brewing
Should you choose a bucket, carboy, or conical fermenter for your fermenter? Depending on which material you chose, you may have limited options. For example, you won't find any glass conical fermenters, and you won't find any stainless steel carboys.
Fermenting in Buckets
Buckets are very common for beginner brewers because they're cheap. They get the job done and can easily be replaced. They are also opaque, so light won't skunk any of your hoppy beers (lightstruck is an actual off-flavor), and many new brewers won't have a dedicated fermentation chamber available.
The downside is that you can't see fermentation happening, which is kind of fun. Also, without fail, lids can be difficult to get on/off. The sloshing around could mean spilled, contaminated, or oxygenated beer.
Also, plastic buckets scratch easily, which can store bacteria over time and infect your beers with acetic acid or other off flavors.
Fermenting in Carboys
Though there aren't any “true” carboys on this list of 1 gallon fermenters, I'll count the gallon jugs and the wide mouth glass containers as carboys since they are similar.
Glass is scratch resistant, so will last forever if you take care of it. It's also easy to clean. Also, it just looks cool when you have a couple of beers fermenting side by side and you can see what they look like in their glass containers.
Lastly, the small neck of the jugs means less surface area for oxygenation and contamination. This would not be true of the wide-mouth versions, but it's still better than a bucket.
There's a downside to the small neck though! It's a pain to get any dry hopping and other post-fermentation additions in or out of the container. Trying to get a muslin bag full of hop pellets into a neck of a gallon jug is very difficult, but if you just drop the pellets in, you have more beer loss due to hop material soaking up liquid.
Glass is also fragile, so if you aren't careful, then you smash your investment, and have to buy a new one.
Fermenting in Conicals
There are plenty of examples of stainless steel conical fermenters, but they are for 5 gallon brews minimum. Conicals go all the way up to multi-barrel systems, and there are plenty of choices between those two extremes.
For one gallon brewing, there are only plastic conical fermenters to choose from.
Why conicals?
As your yeast flocculates near the end of fermentation, it settles on the bottom of your fermentation vessel. With buckets and carboys, the bottom of the vessel is flat, so when you siphon the beer into your secondary vessel or carbonation vessel, it's very easy to suck up yeast and trub, getting more sediment into the next container.
With a conical fermenter, yeast are encouraged to settle directly in the bottom cone, making it easy to siphon out only clear beer. In fact, some conicals allow you to drain the yeast directly, and this makes reusing yeast very easy!
Other than cost of higher quality conicals, the only downside is that all that downward pressure on yeast may cause autolysis if left too long (dead yeast breaking down), and you might run into issues where beer doesn't finish fermenting because it's stuck in the small cone area.
With wide-bottommed fermentation vessels, you have a much bigger surface area, so yeast is spread out and has easier access to sugars to munch on.
Overall, this shouldn't be an issue if you have healthy yeast, since most professional brewers use conicals.


Leave a Reply