
If you want to brew beer at home, you're going to need to ferment it in something. That “something” needs to be durable, sanitary, and locked so that oxygen can't get in. Though you do need some oxygen in the wort so the yeast can do their job properly, too much oxygen getting inside your container after fermentation ends can oxygenate your beer and create flavors.
The two main containers that homebrewers use for fermenting beer are “carboys” and buckets.
Most people haven't heard of carboys before, but they are basically very large jugs made specifically for fermenting things like beer and wine. They come in a bunch of different sizes, and are widely available.
Many homebrewers start out by fermenting with buckets though. They are versatile and cheap, so you'll see them featured in a lot of starter homebrew kits. So which is better – carboys or buckets?
Spoiler alert – both carboys and buckets are great for brewing beer. Which one you use will really depend on your personal preference, and what beer you plan on brewing. There are pros and cons to each.
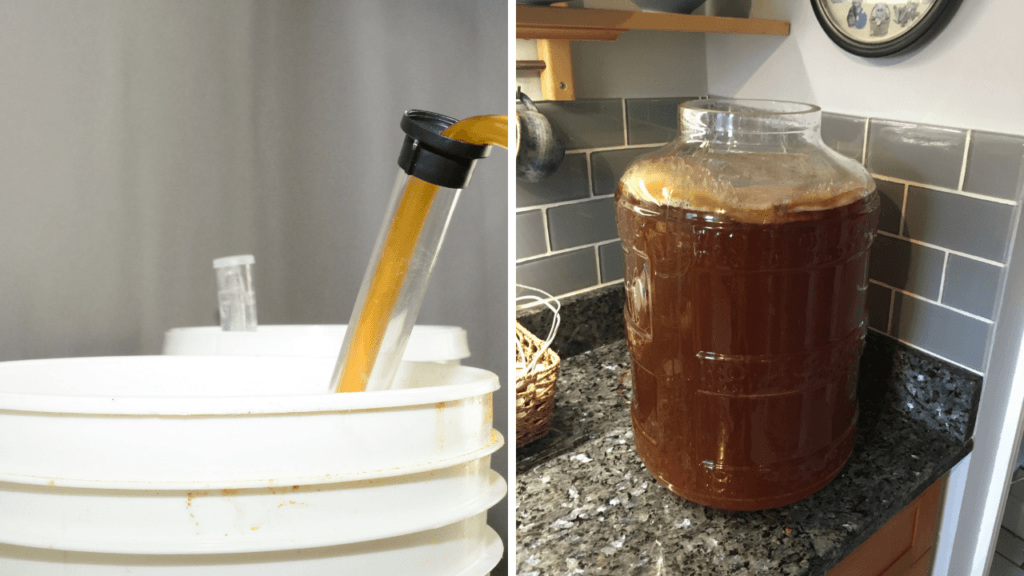
Table of Contents
Carboys VS Buckets
Using A Carboy For Brewing Beer

The best thing about brewing with carboys is that they look cool. You look like a brewer. Not just some guy hauling around a plastic bucket. You can show off all your brewing equipment to your friends, and to be honest, one of the cool things about carboys is that they are translucent, so you can watch the beer as it ferments.
After all, keeping an eye on your brew is at least 20% of the enjoyment of this hobby. When picking out a carboy, you can choose between two materials – glass or plastic – and they come in a variety of sizes.
Glass Carboys
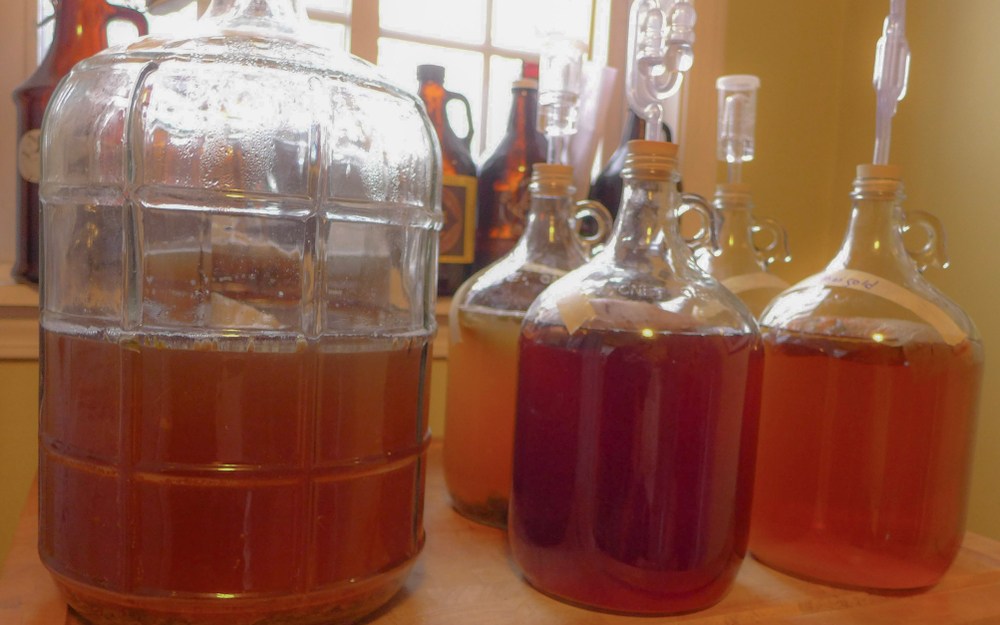
Glass carboys come in 1, 3, 5, and 6 gallon sizes. You can also get them in “wide mouth” versions.
The 1 gallon version is great for brewing 1 gallon recipes, or for brewing other types of small experiments and weird brews like rice wine, kombucha, or prison wine.
If you were to only buy a single carboy, most brewers would get a 6-gallon version because that means you can fit a standard 5-gallon beer recipe and still have enough room for krausen and other fermentation addition like hops, fruit, or oak cubes.
Some brewers like to have a 5-gallon version if the “rack” their beer (transfer) into a secondary fermenter to get it off the yeast cake, but most of the time you won't really need that unless you are doing an extended secondary (a few months or more)
Pros
- last forever
- scratch resistant
- won't fade with time
- efficient cleaning
- easier to seal from oxygen
Cons
- very heavy
- can easily smash (very dangerous)
- more expensive (shipping!)
Plastic Carboys
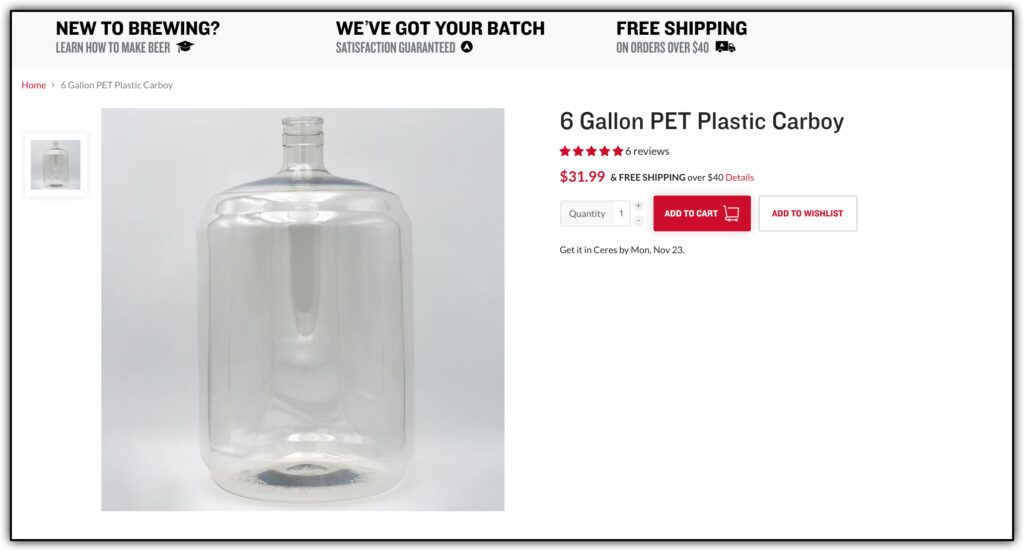
Plastic carboys also come in 1, 3, 5, and 6 gallon sizes, and the same rules from above would apply, although I'd hesitate to send my beer to a plastic secondary if you plan to let it sit for a while. Plastic can let oxygen permeate into the beer over time.
Pros
- cheap
- easy to replace
- light weight
Cons
- cannot see the beer brewing
- scratch easily (not sanitary)
- oxygen can leak in or permeate the plastic
Personally, I prefer to use glass carboys to brew. They are heavier and more dangerous, for sure, but it means I can use the same carboy over and over again. The main issue with using plastic is that it can scratch when you clean it, and little microbes can hide in there even if you use sanitizing solution.
Those microbes can spoil your beer, making it sour (the bad kind, like acetic acid) or even taste like tires and bandaids.
I also like that glass doesn't fade over time, so I can always get a clear picture of what's going on inside the fermenter. I brew beer for fun. Not just as a practical way to make cheap beer. I enjoy watching the beer ferment and seeing what it looks like as I do things like dry hop, or add fruit to the secondary.
Using A Bucket For Brewing Beer

Most people get started brewing beer in a bucket because it's simple and cheap. There are a ton of homebrewing kits, and most of them come with plastic buckets.
Buckets are typically used for fermentation, but can double as a mash tun for BIAB (brew in a bag), triple as a storage container when you're all done with your brew day.
Though buckets don't look as cool as a carboy, they get the job done. There have been many award-winning beers brewed in buckets, so don't be afraid to brew your first beer on a shoestring budget.
You can typically get buckets in plastic or metal, though the plastic ones are definitely the standard. Metal buckets tend to come with list and other fancy features, and are therefore quite a bit more expensive, even moreso than glass carboys.
Plastic Buckets
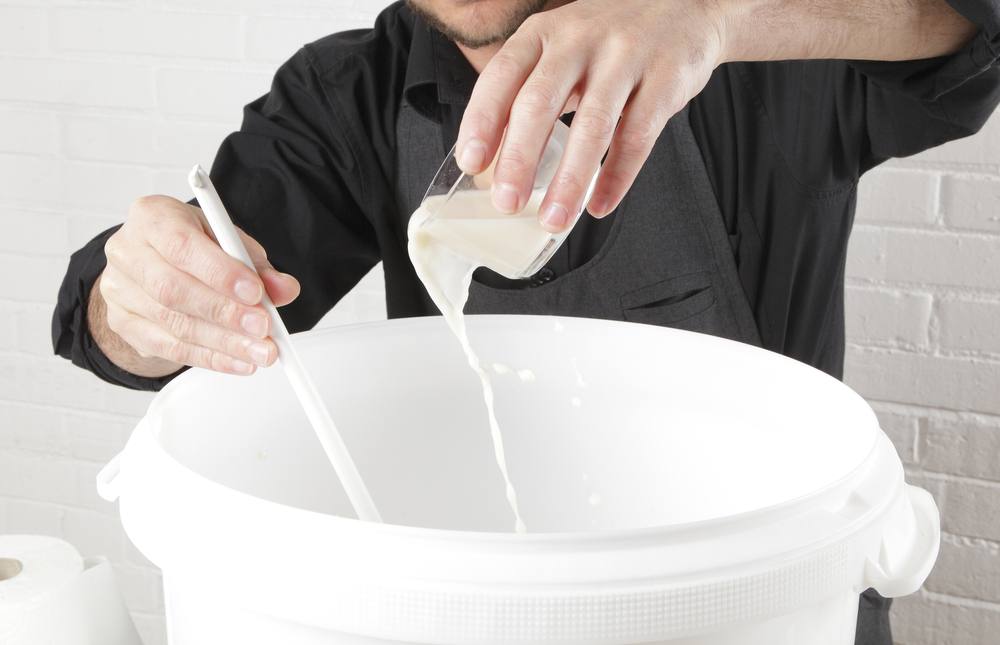
The most common size for plastic brewing buckets is a 5 gallon version, but there are 3 and 6.5 gallons available.
Pros
- inexpensive
- light weight
- easy to replace and cheap to ship
Cons
- difficult to open and close
- not perfectly sealed from oxygen
- oxygen can permeate plastic during extended aging
- plastic can scratch and harbor beer-spoiling bacteria
Metal Buckets
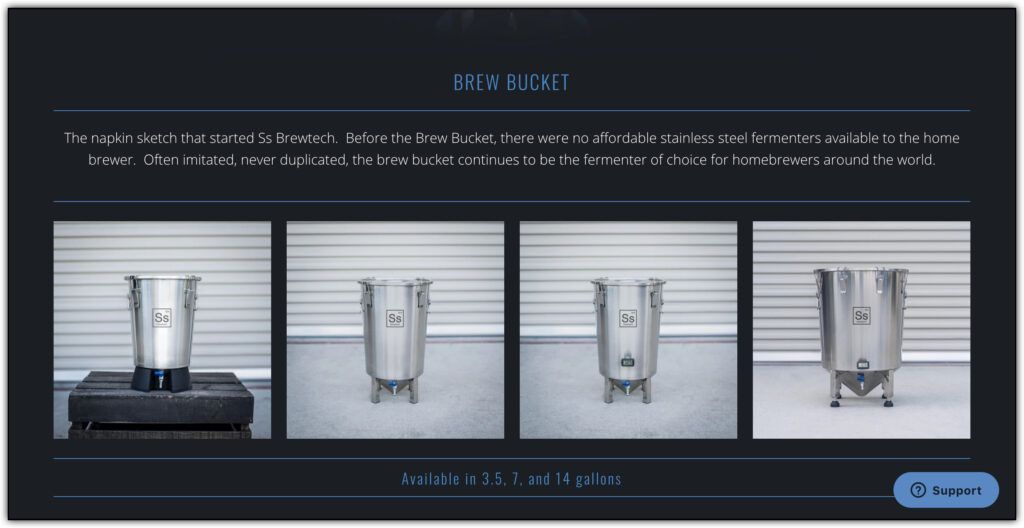
Metal buckets tend to skew larger, though there are a couple of sizes out there. The most well known brand is the Brew Bucket from SSTech, and that comes in 3, 5, 7, and 14 gallon versions.
Pros
- easy to clean and sanitize
- looks cool
- perfect seal for fermentation
- often comes with extra features like yeast catch, or can double as a boiling kettle
Cons
- expensive
- 5 gallon buckets only made by a few brands
To be honest, I haven't actually ever used a plastic bucket for fermentation before, so my personal experience with these are limited. However, I do know that they are easy to scratch, and I'd be too paranoid about sanitation to use the same bucket more than a few times. I'd always be wondering, “Is the the time it's going to get spoiled?!”
I'd really like to get a metal bucket, but they are quite expensive, and my glass carboys are working great for the time being. Next time I smash one, I might upgrade to a metal bucket if I have the extra money, but for now there's no reason to change.
I think buckets are great for first time brewers, but I'd probably recommend upgrading to at least a glass carboys after a couple of brews on your bucket.
FAQ. Should Use A Bucket Or A Carboy
Is A Stainless Steel Brew Bucket Worth The Extra Cost?
In my opinion, yes, they are worth the extra cost. As an avid homebrewer who's brewed 50+ batches of beer, having equipment that doesn't need to be replaced has been a money saver in the long run. Not only that, it helps to know my equipment better as time goes on, so I can brew according to what I'm used to.
If you are just getting started and not sure if you want to commit to the price of a stainless steel brew bucket (of any brand), then it's not an issue to start with a plastic bucket. You can always upgrade later, and you'll find plenty of uses for that bucket later, like holding crushed grain, or mixing sanitizer.
How Big Of A Bucket Should I Get?
Most buckets for brewing you see sold in the store are labeled at “5 gallon” but actually hold about 6 or 6.5 gallons of liquid. That should leave you plenty of head space for krausen during fermentation.
There's nothing wrong with getting larger bucket size though. As yeast blows off CO2, that will fill the headspace and your beer will not oxygenate regardless. That's why it's most common to use a 6 gallon carboy to brew a 5 gallon batch of beer.
How To Remove Trub From A Brew Bucket
Removing trub from a brew bucket is much easier than a carboy. The key is to siphon (or “rack”) your beer off first. Then you can discard the trub which is left behind. Just be sure not to disturb the trub during the siphoning process!
Alternatively, if you want, you can choose to save the trub and wash your yeast to brew another batch of beer and save money on yeast cost next time!
How To Take Off Lid On Brew Bucket
Taking the lid off of a brewing bucket is very, very difficult sometimes. In fact, if you aren't careful, you might even spill your beer in the process! I recommend getting a specialized lid remover.
How To Siphon Or Rack Beer From A Carboy
Siphoning beer from your carboy is a skill that you'll learn after brewing many batches. It's not hard, but it does take some getting used to at first. I always have to do at least 2-3 pumps before I get a good siphon going.
Step 1 is to make sure that the carboy is at a higher elevation than the keg (or secondary carboy) you're siphoning into. This is so that gravity can help with the process.
Step 2 is to get enough liquid in the siphon tube to cause a vacuum, which will then continue the siphon automatically until all the beer is transferred.
How Long Can Beer Stay In Carboy
One of the main advantages of using a glass carboy is that beer in a glass carboy can age for a very long time. MONTHS, in fact! Because glass is not permeable, as long as your bung is secure and you keep liquid in your air lock, then oxygen will not get in.
The same is not true of a plastic carboy. Plastic is permeable, so over time, oxygen will creep in. It's OK to leave for a couple weeks, but I would not lager my beer in a plastic carboy.
If you plan to age for a long time, I would also make sure to rack your beer off of the “yeast cake” to prevent autolysis, which can start occurring if left too long (though it usually takes quite a few months, or even more than a year).
How To Clean The Yeast Line After A Batch Of Beer
One of the worst parts of brewing in a carboy is that it's hard to clean. The yeast krausen will rise, then dry, and leave a nasty looking line of crud on the inside of your carboy. Because it's dry by the time you transfer your beer out, it'll be stuck on there too.
To clean it, you need two things: PBW and a carboy brush. The PBW is an excellent cleaner for all of your brewing equipment, and a carboy brush is great at bending in the specific angles you need to clean the awkward shape of your carboy.
Leave a Reply